copy out that tools folder, that you found, that stm32flash utility and script can still be used for manual firmware install.
install your core base on this
https://github.com/stm32duino/wiki/wiki/Getting-Started
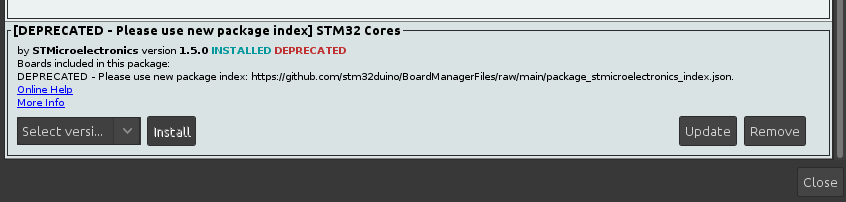
this is the 'official' stm32duino core.
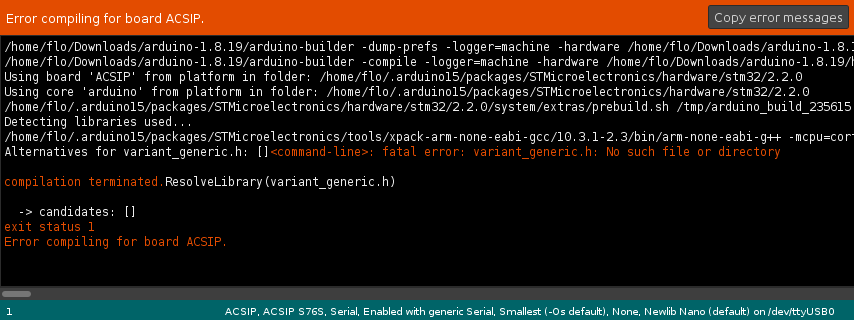
you would need to select your board (it won't be there), so u'd need to select your *chip*, you may need to make a new variant.
you would also need to know the external crystal (HSE) frequency - i.e. check your schematics.
it is possible to use your board with the same chip (selecting a predefined board), if there is an existing board that is configured to use the same HSE frequency. Otherwise, it means making a new variant, and u'd need to define your
void SystemClock_Config(void) that setup the HSE for your on board crystal frequency.
if you aren't particular about using an external crystal, you may be able to use a 'generic' variant that matches your chip.
external crystals is mainly for usb, which needs to be at 48 Mhz exact. If it drift, usb may fail.
note also that the 'official' stm32duino core uses
https://www.st.com/en/development-tools ... eprog.html
which is a separate install.
In Linux, I made do with various public domain or open sourced utilities to install my firmware, e.g. that stm32flash
but this needs to be done manually and u'd need to know how to use it if you use your own tools.
In the Arduino IDE, the binary can normally be generated using Tools > export compiled binary, and the binary should be left in your project folder.
Manual install is just an extra step on the command line, I find that it is ok and you use your own commands so there is less of a 'black box' when you try to install the binary. I prefer this as well, as I normally reinstall my binaries manually from the command line, and I won't need Arduino IDE for that.